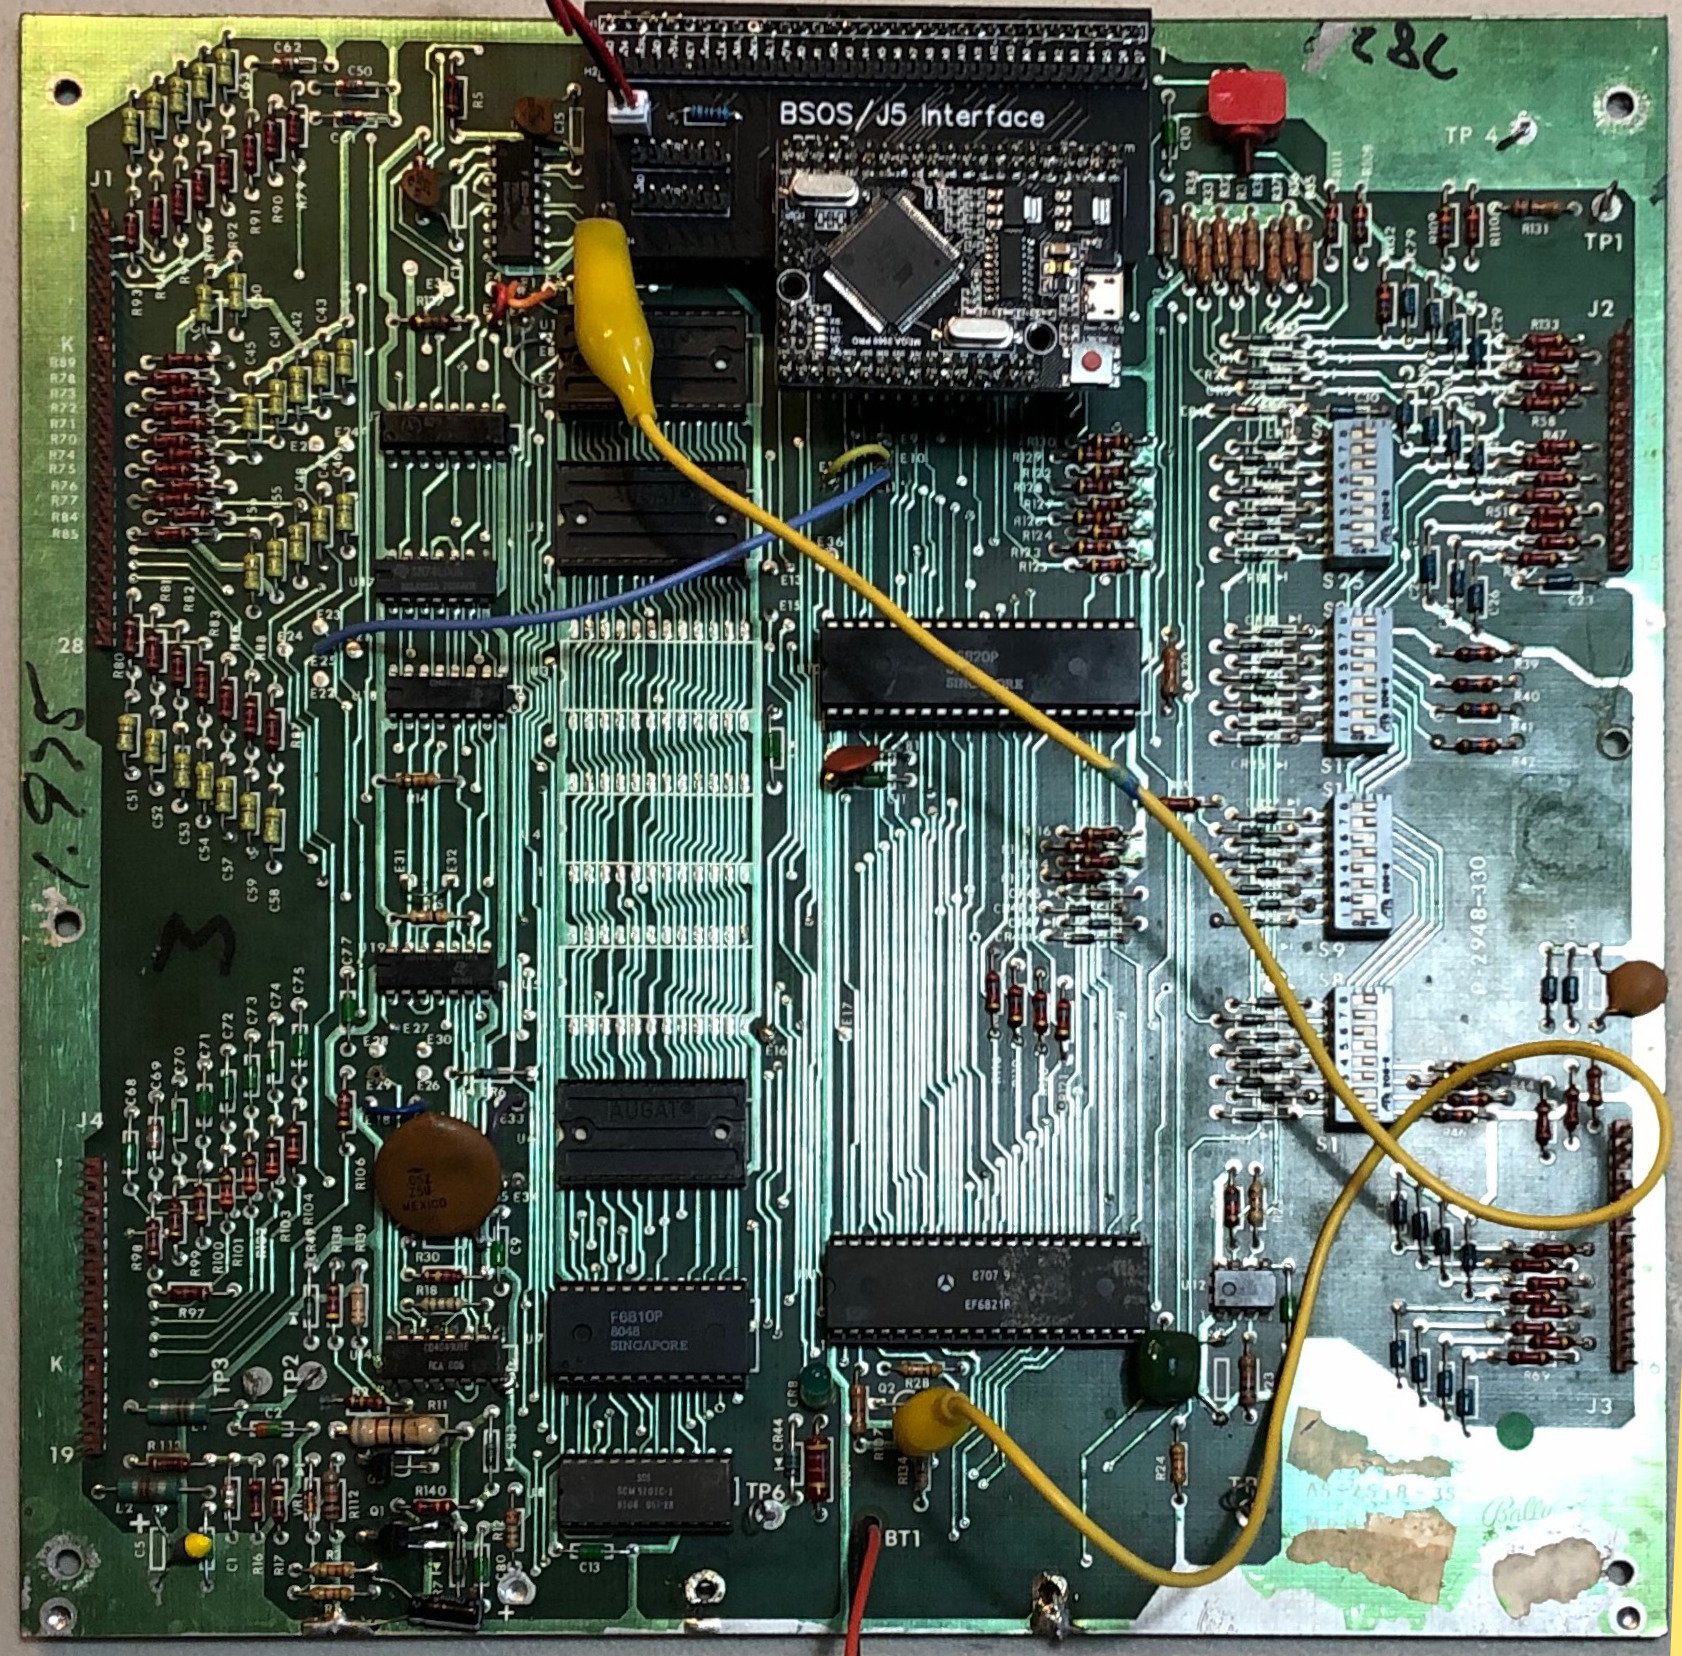
What is Retro Pin Upgrade?
Retro Pin Upgrade (RPU) is an inexpensive circuit board (DIY for under $50) that plugs into a pinball machine’s main board (MPU) and takes control. Using an Arduino microcontroller, RPU takes over the lamps, solenoids, switches, displays, and sounds of a pinball machine in order to reprogram it with all new rules. RPU can also talk to newer peripherals (like displays, RGB lamps, and polyphonic sound boards like the WAV trigger) so new features can be addd to pinball machines.
The original Rev 1 board was called BSOS (it only worked with Bally & Stern). Now, the circuit boards and operating system run on Bally, Stern, Williams, Atari, and others. Some RPU boards (Rev 1, 2, 3, and 4) plug into the J5 connector of an MPU (AS-2518-17, -35, MPU100, MPU200), and other RPU boards (Rev 101 and 102) plug directly into the processor socket. All the RPU boards offer a “dual boot” option so that the machine can be booted to new or original code.
The code I write for these machines is offered free (GNU General Public License v3.0). That means you can use it however you like, including modifying it and making it your own. You can find all my code on GitHub. But, you’re going to need an RPU board in order to run it. A lot of these machines can be modified for less than $100, and some can be done for less than $20.
Check out the list of current game revisions.
In that list, you’ll see that some machines can run on board revision 1, 2, 3, 4, or greater. Revision 4 is the one I’m currently installing on Bally/Stern machines. For Williams (System 4-11), you’ll want Revision 101 or 102. I’ve build all of these boards by hand (the prototypes), so I know it can be done, but I wouldn’t bother to try to hand-build the latest revisions. Those are based on the Arduino MEGA 2560 PRO, and they required dozens of connections.
The good news is that you don’t have to build by hand. If you’re familiar with building boards and you’re comfortable ordering printed circuit boards (PCBs) from places like JLCPCB, you can take the Gerber files from GitHub and order up some boards. On that GitHub link, you’ll find some basic instructions, but if you need help on any of the steps, please contact me.
There are also people who currently sell kits with the RPU boards and all the parts you’ll need. Check out the stores for RoyGBev and Troxel on Pinside.
For Bally/Stern machines, you can use the Rev 4 or Rev 102 version of the RPU board. The Rev 4 plugs into J5, and the Rev 102 plugs into the processor socket. If you have a Weebly replacement MPU, you have to use the Rev 102 because J5 isn’t compatible with RPU on the Weebly MPU.
If you’re looking to update a Williams title, you’ll want to work with a Version 102 board. At the moment, RoyGBev sells a plug and play Version 102 board, or if you want to fabricate your own the gerber files are available.
If you are comfortable with writing C code, and you want to do your own title, it’s not too hard to dive in. We have a community of people. Contact me, or leave a comment below and I’ll help you get started.
Here are some more articles about RPU:
How to program your own pinball code on an RPU board
Here’s an example of a machine with new rules added with an RPU board & WAV Trigger.
This is a hand-built Rev 1 board
Hand built RPG board for Williams
Bally -35 MPU with Rev 3 installed
Williams System 6 with Rev 102 installed


